Net Gains in the Garden

Net Gains in the Garden

2021 Net Experience to date

  • I am moving away from plastic nets particularly the fine thin green version sold by some retailers. They break after one season, become brittle and inevitably end up in landfill or worse.
  • This season I favour chicken wire either galvanised or coated mesh. I have strung a 6 foot length between two stout metal poles. The poles have been fed through the holes at the edge every 6 inches or so. Thus I have a wall of netting for my sweetpeas to climb up.
  • Rather than use netting on softfruit I intend using horticultural fleece as a temorary covering because I hve a surplus of fleece and it deteriorates if kept to long.
  • Wire mesh can be adapted as a coarse sieve used on my home made compost.
  • Whilst not true netting I use wire frames for bird feed holders. I have a couple for suit blocks and seed balls.

original post on garden products April 2011

‘Netting can be very useful in the garden and there is usually one or more types for each particular application.

Climbers like Sweet Peas need something to cling on to as they grow. You can cut off the tendrils and tie the stems to a cane but that is labour intensive. I prefer to use a very open green plastic net. It is about the cheapest you can buy and if you throw it away at the end of the year it will have done its job.

For runner beans and climbing beans I use stronger plastic net also with a wide open mesh and strong poles. Again it is still cheap as a form of netting.

For protecting soft fruit like strawberries or building a fruit cage you need knotted netting also called mesh knotted netting. This is strong enough to keep out the birds. The mesh varies from 7mm squares to 18mm diamonds. The smaller gauge keeps out moths and butterflies and the wider for pigeons and small birds.
For herons over your pond a wider mesh of 45mm will not spoil the appearance.

Insect mesh netting is finer and more akin to fleece. It can deter carrot fly, cabbage root fly and caterpillars whilst giving a modest amount of shade.

Wind break or shade nets are made from higher density polypropylene.

Pond nets for leaves and debris can also protect your goldfish. A fishing line strung across the edge of ponds may deter cats and other creatures.’

Me and Seed Trays

Me and Seed Trays

Plastic seed trays

Seed sowing reaches its height in the middle of April. It is worth looking at the labour saving devices that were not available to our parents and grandparents.

Seed Tray Review

  • Old wooden seed trays with slats and high sides are still in use. They need care when cleaning before new crops are sown.
  • Plastic seed trays from rigid polypropylene with drainage holes can be used time and again and are easy to store and clean. There is generally a pattern of ridges to improve drainage.
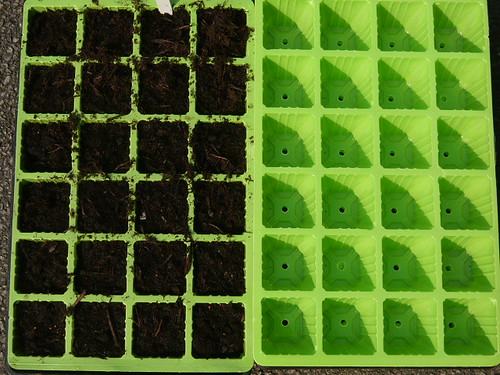
  • I like to use the thin plastic segmented inserts inside a normal seed tray like those in the photograph.
    • They are cheap enough to be disposable but last a couple of seasons with care.
    • They vary in the number of cells, 3×5, 8×5 or 4×6 for example.
    • Each cell can be for individual seeds or used for several fine seeds. It makes pricking out and planting far easier.
    • The cells can also be used for growing on after pricking out. 15 or 24 good plants can be raised in one tray.
    • Do not put plastic inserts in a tray without drainage holes or the compost may get water logged.
  • Seed trays can be used to hold individual pots in one place. Up to 15 square 3″ pots can be put in one tray and they are a bit deeper than a standard tray.

Seed Tray Tips

  • Take care when watering to get all the area damp. Be careful with small cells and those near to the drying sun.
  • Label your seed sowing with the date and type of seed sown.
  • Sterilise your used seed trays in Jeys fluid or similar
  • To water from the bottom fill a larger container and stand the tray in the water until enough has been taken up.
  • Do not leave seedlings too long before pricking out. Long roots soon become stunted.
  • Carefully push out the cell contents from the bottom if using this product.

2021 Experience So Far

  • I vowed to sow fewer seed packets this year as pricking out then fills all the available warm space before the frost goes. Instead I have filled seed trays and 7cm pots with cuttings and bought in seedlings, so my space problem remains.
  • The square 7cm pots fit together in a seed tray for watering and carrying (but I always end up tipping some out by accident).
  • I did provide bottom heat for those seeds I have sown except lettuce. This has helped germination but regrettably not for tomatoes.
  • I stand some seed trays on wicking fabric to benefit from capillary action when watering from the bottom.
  • I have managed to get more seed trays in my greenhouse so all is not bad news despite the weather.
  • There is still time to use the seed trays for annuals and other seeds like wallflowers which await my attention.
Cold Snap and Sundry Snaps

Cold Snap and Sundry Snaps

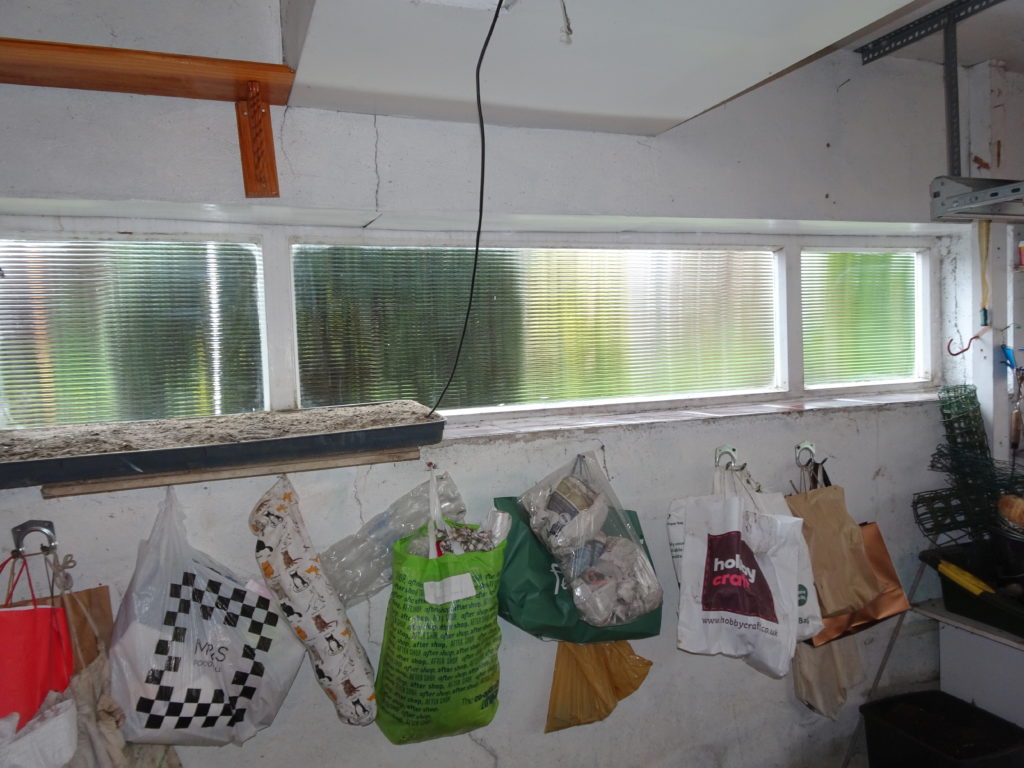
Winter quarters on garage windowsill. Short of light but a warm sand based seed bed
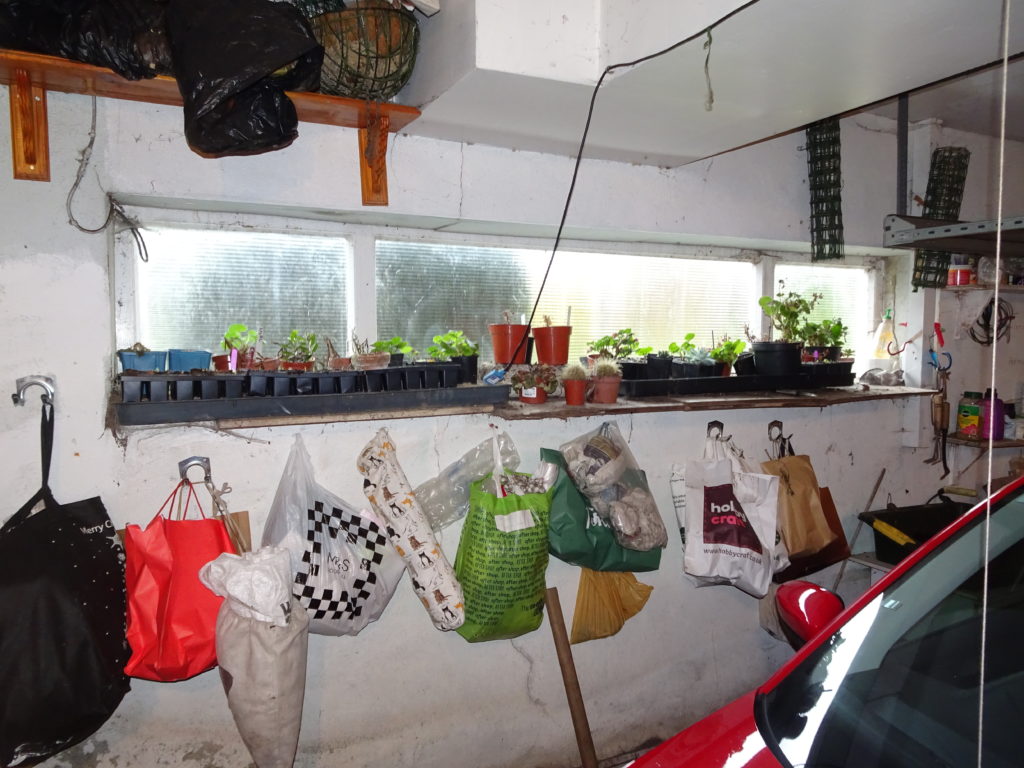
Early protection in the bagging area.

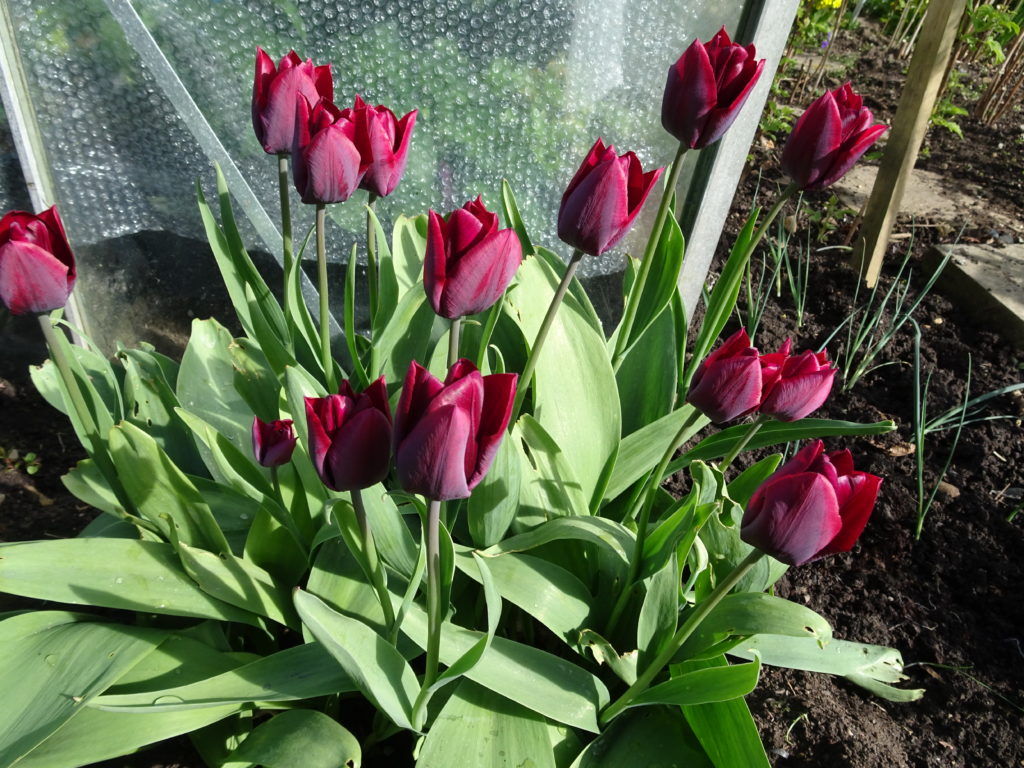
Tulips do not mind the cold snap we have experienced during April but the greenhouse appreciated the bubble wrap

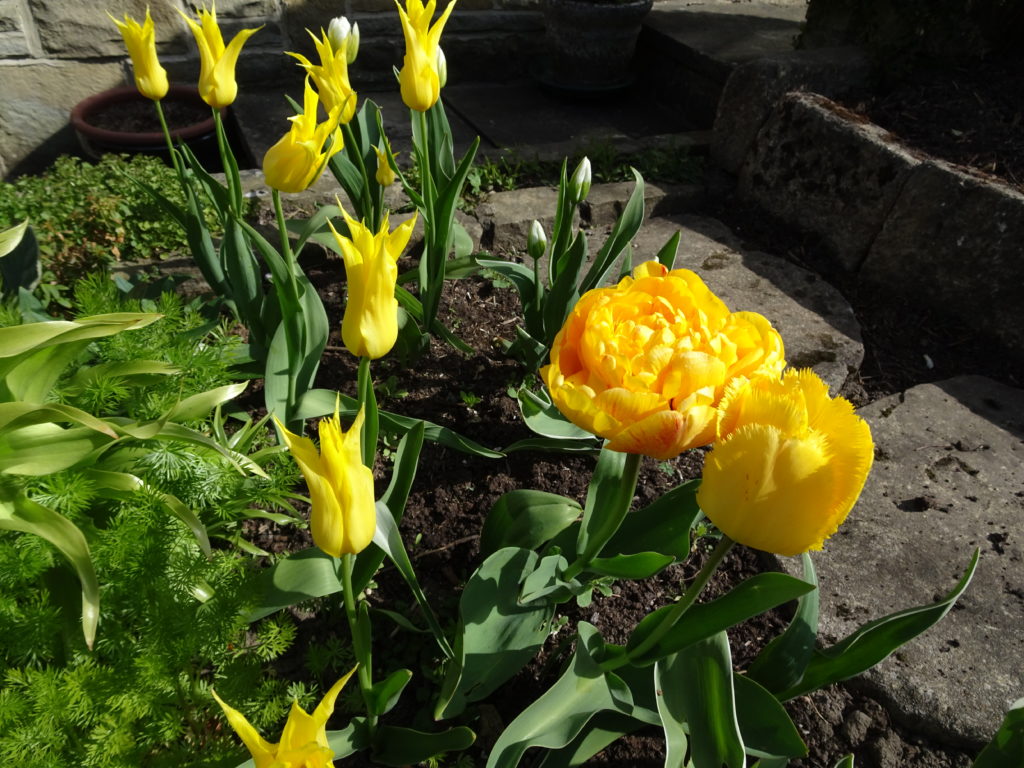
There is a great variety of tulips on show at the moment
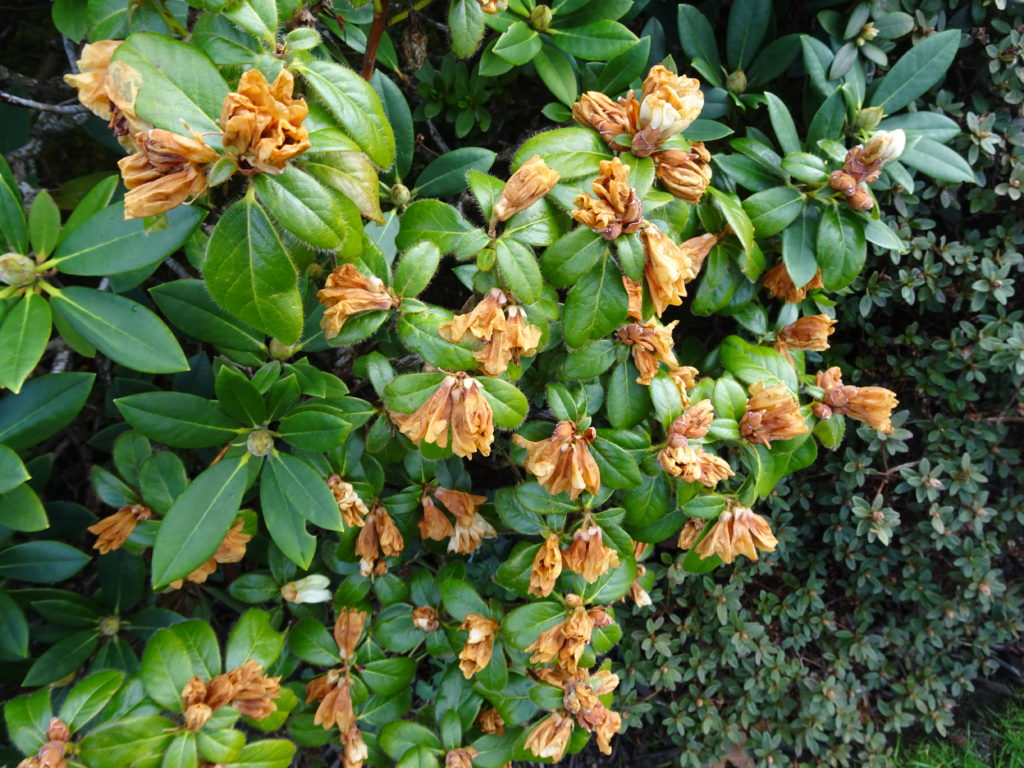
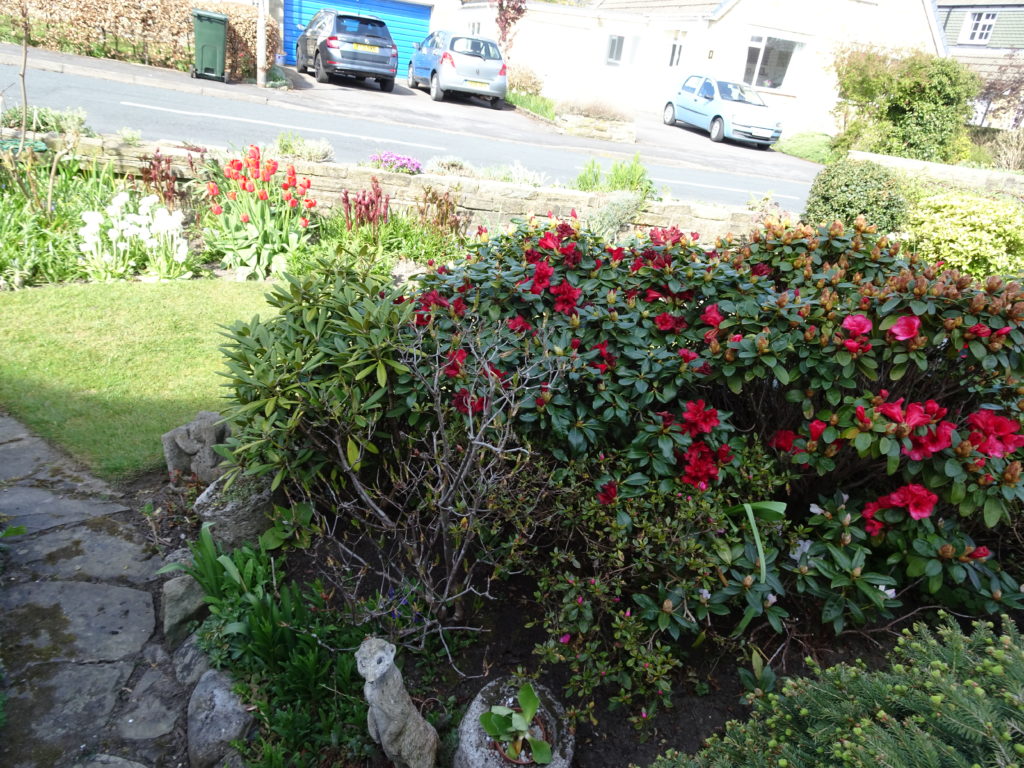
Rhododendrons were decimated by the cold snap – still I hope for better next year – third time lucky after last years frost.
I treated myself to a Knaphill Azalea’Viscosa’ a white thjat will flower after our northern frosts.
Weeds to Worry About

Weeds to Worry About

Are weeds just plants ‘whose virtues have not yet been discovered’? Ralph Waldo Emerson Are weeds all bad to be dug out or killed off in your gardens and public spaces? Are native weeds worse than alien invaders? First lets see what plants we are talking about

Invasive or Noxious Native Weeds under the Weeds Act 1959,

I don’t know about you but there is a chance some of these weeds appear in my garden along with other miscreants such as willow herb (Chamaenerion angustifolium) , ground elder, convolvulous and bluebells. And that is just the start of my weed trail.

Invasive non native alien plants

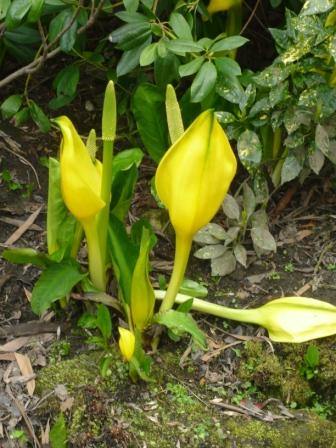
  • American skunk cabbage Lysichiton americanus
  • Chilean rhubarb      Gunnera tinctoria
  • Curly waterweed      Lagarosiphon major
  • Floating pennywort             Hydrocotyle ranunculoides
  • Giant hogweed         Heracleum mantegazzianum

Read More Read More

Green Guerrilla Gardening

Green Guerrilla Gardening

Plant by lampost
              Plant Around the Lampost

Guerrilla Gardening is a movement which seeks to take unused often ugly plots of neglected land and grow plants and vegetables. It is a loose movement with a variety of aspirations and ecologically green projects. It has been described as ‘The Illicit Cultivation of Someone else’s Land.

If you look around your city town or landscape, there are bound to be a neglected areas full of weeds and unnecessary concrete that would benefit from your green ministrations.Guerrilla Gardening may begin as an illicit activity of just planting in a certain area. In a way the thrill of guerrilla gardening is a combination of the illicit activity and the action of improving the local environment. It could be viewed as a beautiful form of vandalism. A kind of reverse graffiti.

There are many different and simple things that can be done as part of Guerrilla Gardening in a green manner.

  • Planting bulbs / plants in an area devoid of colour
  • Protecting weeds grown in unusual places.
  • Clearing up litter
  • Taking up unnecessary concrete and planting in it.
  • Watering, feeding and generally looking after a bed of plants to give a different level of aesthetic or practical result.

Guerrilla Gardening and the Move to Legitimacy

Read More Read More

A Tykes Greenhouse

A Tykes Greenhouse

Maximising Useful Space

  • During spring the space in your greenhouse is at a premium. We all have our own ways of using the opportunities and here are some of my ideas and Yorkshire experiences.
  • My glasshouse is the standard aluminium roof-span type. I aspire to a dutch type with sloping sides and bigger panes but they restrict tall plants near the glass. I’m too traditional to opt for an octagonal or dome shape and they rely on shelving for more space.
  • My past attempts with mini greenhouses and plastic constructions have been frustrating and are usually abandoned.
  • I have just got around to placing concrete flags under the staging – previously it was bare soil but seldom used for growing. Now I store dry goods that are regularly needed and small gizzmos and fixers. Now I don’t need to resort to the hut or garage every time I need something (time is as valuable as space).
  • The central path has long been flagged for 80% of the length so the growing area is ‘U’ shaped.
  • I use all internal central path for pots and trays on an interim basis. I also have some flags outside the door for moving plants out for short periods and hardening off.
  • I have a permanent wooden stage the length of one side and a temporary, portable aluminium stage that fit across the far end.
  • My aluminium frames have a central channel where a moveable support can be fixed for bubble wrap screening or light string support. I also string from the roof for tomatoes.
  • Wires or washing line is strung across some areas affixed to the frame to support growing plants. Pegs are used for several purposes.

Maximising Crops my way

  • My favourite flowering crops are auriculas and cyclamen that are ready to go outside before other plants need the space.
  • If I prick out too many plants into pots I need to ration myself as space becomes tight for a couple of weeks
  • I have had good results growing first earlies in potato sacks as long as I protect from hard frost and earth up by topping up the bag. They go outside when I need the space as the frost is virtually done.
  • Once seedlings are planted out I grow tumbler tomatoes in pots on the top of the bench and previously a courgette or two under the bench but they eventually gets in the way.
  • I grow tomatoes using a type of ring culture augmented by a hydroponic trough of nutrient and some wicking see below
  • Chrysanthemum follow tomatoes started off in front of the trough
  • Catch crops of lettuce and other salads get stuck in where I can.
  • Through winter I raise pots of early bulbs particularly hyacinths

Other Greenhouse Observations

  • The foundations are 99% perfect but I would strive for perfection if starting again. I would also build a ramp up to the threshold.
  • The only growth nearby is a plum tree on the north side but there is no overhang and the light is good.
  • I need to shade it with cool-glass paint as the sun gets stronger. A tip is to paint the shading on the inside, it is easier to reach and wash off. Outside the coolglass tends to adhere to mucky glass .
  • I never invested in blinds or shades. I also use scrim, muslin or horticultural fleece as a temporary covering if needed.
  • I use small flags to retain deeper soil where I want it. (see front right)

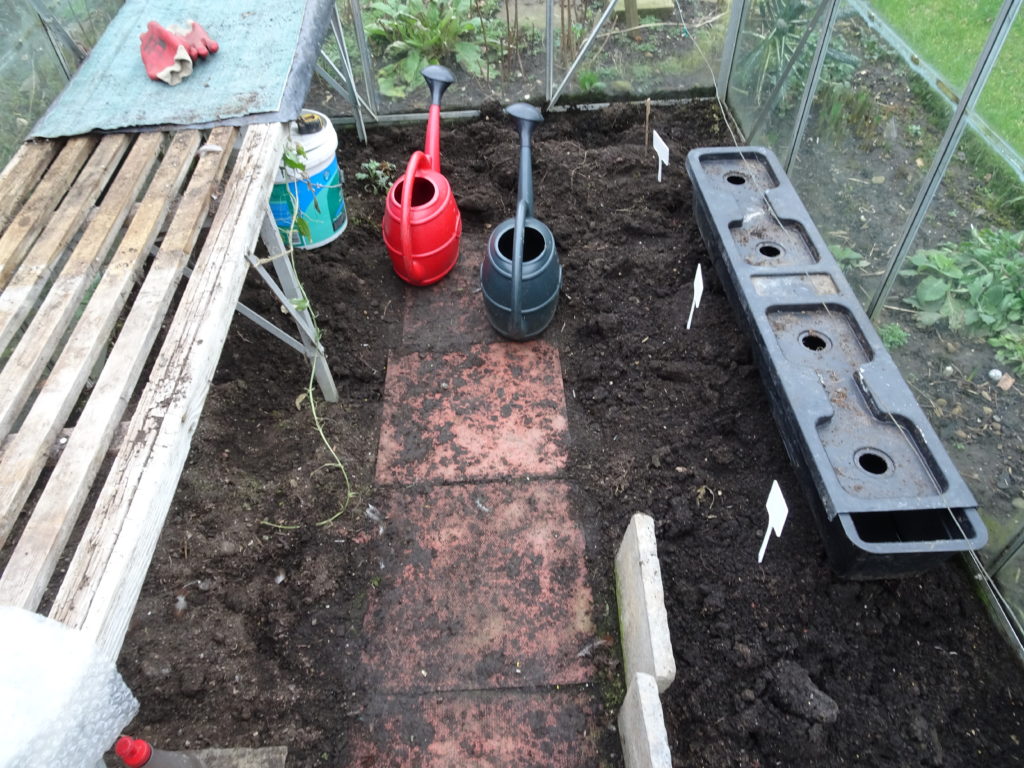
Tomato Trough before ring pots are put on top

Little Conifers Little Tree Tips

Little Conifers Little Tree Tips

What are Miniature Conifers

  • Natural slow growing conifers that have not been deliberately stunted can be grown as miniatures.
  • The annual rate of growth is ¼” to 1″
  • Miniature conifers can be grown from several species including abies, pine, picea, chamaecyparis, cryptomeria and juniper
  • They are propagated from seed or as cuttings of existing miniatures.
  • Cuttings from sports or mutations can produce new varieties.
  • True miniatures differ from dwarf varieties and slow growers which also produce small trees
  • Miniatures are the shortest of the conifer family used in alpine gardens, scree gardens, troughs and display pots.

Little Conifer Tips

  • Miniatures can grow in troughs with 3″ depth of soil or in window boxes.
  • Allow them to spread the roots rather than delve too deeply
  • If grown as commemorative trees they can become long lived family treasures.
  • Contour the site in proportion to the trees you are growing making allowance for the anticipated height
  • Do not allow trees to be heavily overshadowed or left too dry.
  • Beware juvenile foliage may look different.

Read more on Gardeners tips

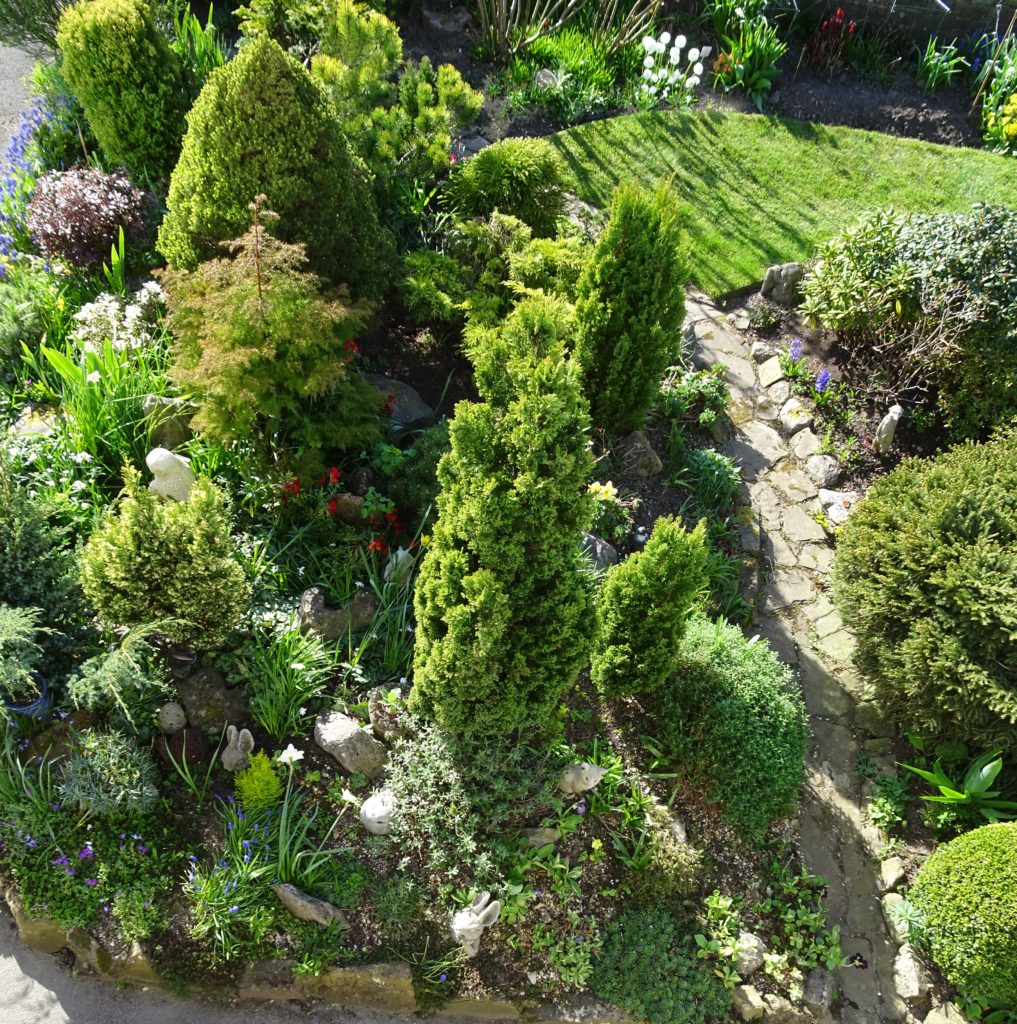
Miniature and Dwarf Conifers  from above

Read More Read More

Commonsense Apple Trees

Commonsense Apple Trees

Basic Facts

  • There are many thousands of apple tree varieties (7500+)
  • Apple trees can live for more than 30 years
  • Apple trees fruit better if they are pollinated from another variety (two more varieties for some apples).
  • Trees need a balance of roots, new wood and leaves to perform well on fruit production.
  • Most trees are grafted on to a special stock (not grown from pips). This determines the size of the tree.

So how to use this Information

  • Think about the apple(s) you want and the conditions in your garden.  Match your choice from information about specific varieties. Soil conditions geographic location and other knowledge is available from  specialists, a quality nursery or the RHS fruit group.
  • Buy with care bearing in mind the tree is their to last. Give it space and appropriate soil conditions as the tree will want air and light as well as sustenance.
  • Pruning stimulates new growth, do it between winter to early March. Train tree to shape before serious pruning and do not over prune in any one year.

Other Commonsense Comments

  • Apples can be grown in pots. Choose a large one that will be stable and hold moisture and feed weekly from July to September.
  • Protect the roots of pot grown apples from drying out caused by sunshine on the pot.
  • I am not keen on the use of chemical ‘icides on fruit but rely on a clean environment and early removal of problems. I will add sulphate of ammonia to increase vigour or potash to help fruit production.
  • When staking a tree ensure the trunk isn’t damaged or rubbed.
  • Apples can be stored for 4-6 months and should be left on the tree as long as possible ie November in many cases
  • Apples are ripe when the pips have turned black and should come off the tree with a gentle twist.
Brussels Sprout Commitment with TLC

Brussels Sprout Commitment with TLC

I have found a new commitment to growing and eating Brussels sprouts. From 3 or 4 plants last year I ate several hearty meals including a socially distanced Christmas (not because of any sprout side effects). I treated the plants in a cavalier manner and wonder how much better they would be with a bit of tender loving care.

Reasons for my new Commitment

  • The plants do not take up as much space as other brassica crops when compared to the volume of food produced.
  • My soil is fertile and free of most diseases (famous last words.) It also hold plants firmly in the ground a feature I am informed helps sprouts.
  • In march I will sow last years seed of Evesham Special but also try find some F1 plants of early (maximus), mid (Diablo) and late (Revenge) season favorites.

Tender Loving Care

  • This year I will  draw up more soil round the stem in summer to reduce staking and provide support. (Evesham only grow 2 feet high)
  • Early sowing produces the best plants so I should get a move on. It is one draw back that plants grow for 12 months of the year but don’t need too much attention.
  • I have a lot of local pigeons but did not suffered any attack on young shoots last year. I still keep some chicken wire temporary fencing handy should the need arise.
  • This year after potting-on I will give a weekly liquid feed.
  • Watering well in summer will provide an opportunity to boost with a nitrogen-rich feed.
  • Whilst I try to minimise insecticides I will resort to them if caterpillars and white fly start to over power the crop.

Read More Read More

Feed Raspberries to Feed You

Feed Raspberries to Feed You

You do not need to give your raspberries five a day for them to supply you with at least one portion a day of your fruit and vegetables. However feed your canes and treat your hungry raspberries right with these tips.

Good Food Guide for Raspberries.

  • Feed with a general fertiliser containing nitrogen for leafy growth, phosphorus for roots and shoot and potassium for for flowers and fruit. Growmore suits me but Phostrogen, Chempak of Vitax Q4 will do a similar job.
  • If your leaves show signs of yellowing between veins it may be due to magnesium deficiency or the over use of potassium feeds. As a cure foliar feed with epsom salts solution in summer. I also start with an epsom soil feed in early spring.
  • On chalky soil it may be worth giving a feed of sequestered iron in the form of sequestrene.
  • Mulch around the canes with well-rotted manure but don’t bury the canes. This feeds and helps retain moisture both essential for good fruit. I also mulch and water in summer.
  • Prepare the soil for new plants by deep digging adding well rotted compost and a slow release fertiliser such as bone meal.

Good luck with your cropping this year. May you pick enough raspberries to feed your daily portion needs with some leftover  to freeze or turn into jam