Extra Gardening Storage
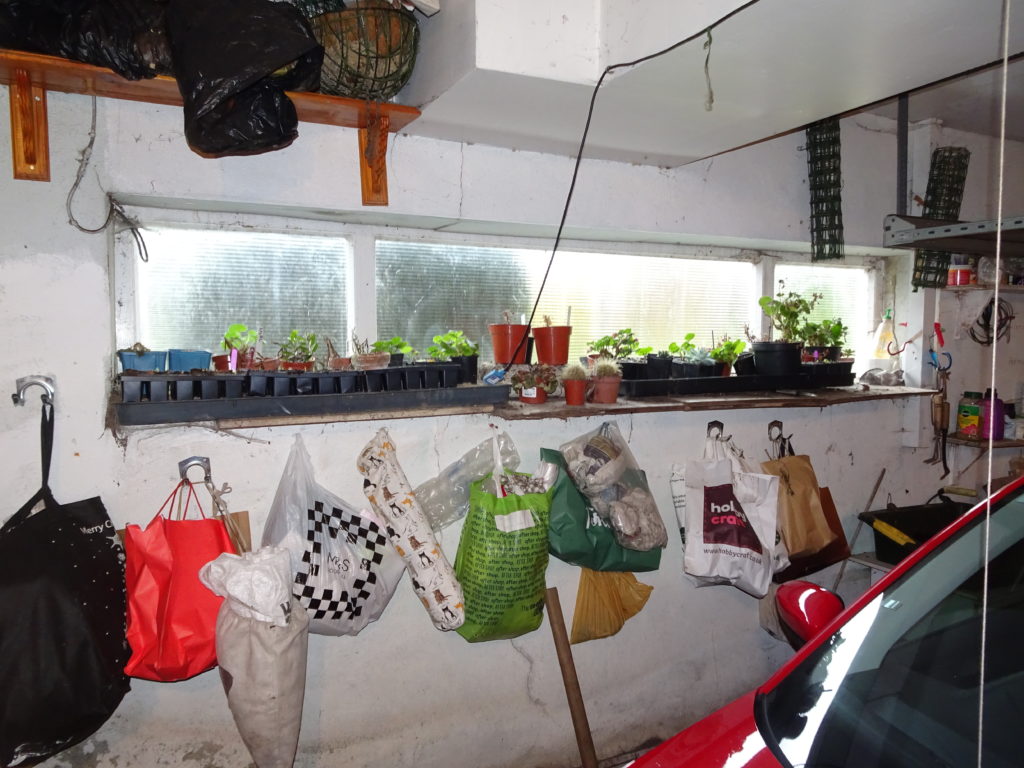
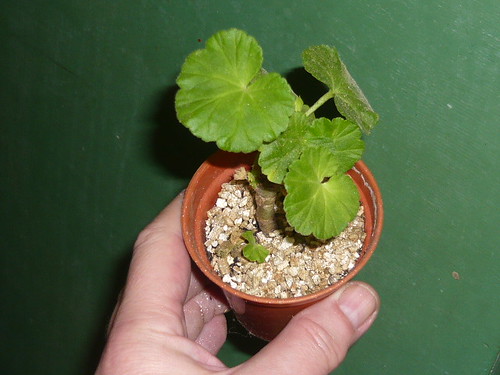
Where do you keep all your gardening needs if you don’t have a special shed. Mine is spread over the garage with seedlings being raised on the window ledge in a variety of containers.
Nailed to the wall
- Double U hooks support several bags. The cloth bag holds bulbs or plant material awaiting planting. Other bags are bags of bags including plastic bags, bubble wrap, cloths, fabric pieces, string and a bag for recyclable specials.
- Above the window is a home made shelf for bits not in use like hanging baskets mesh supports and general gibb.
- On the right is a shelf for dry goods, fertiliser, and sundry potions and …icides.
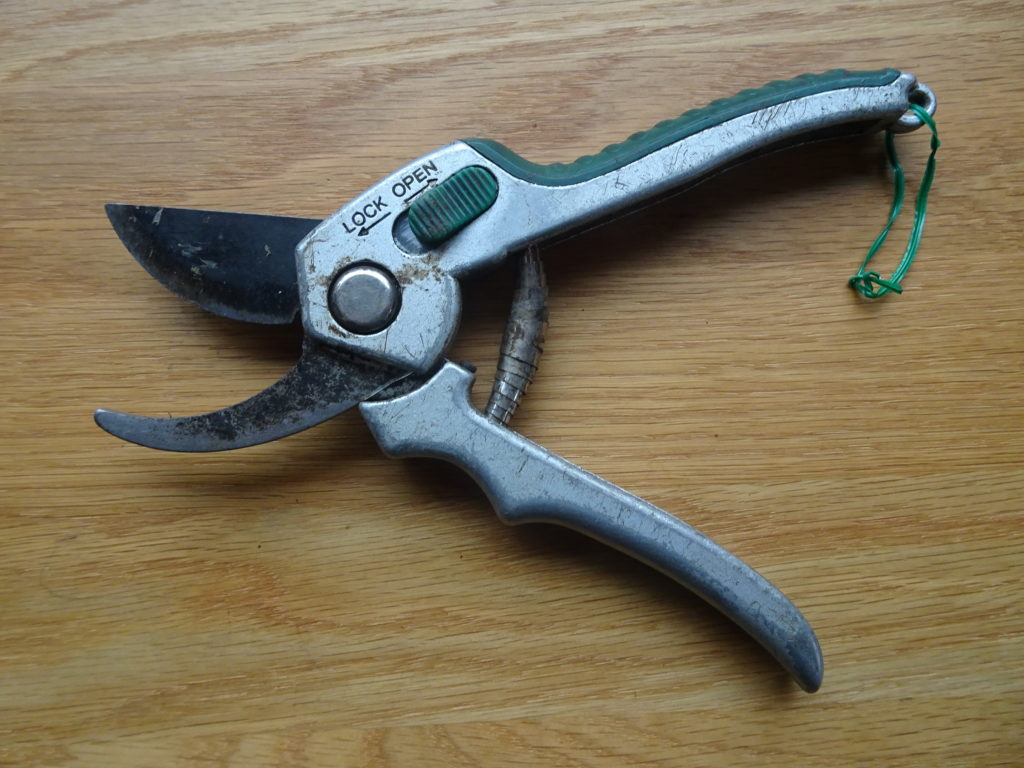
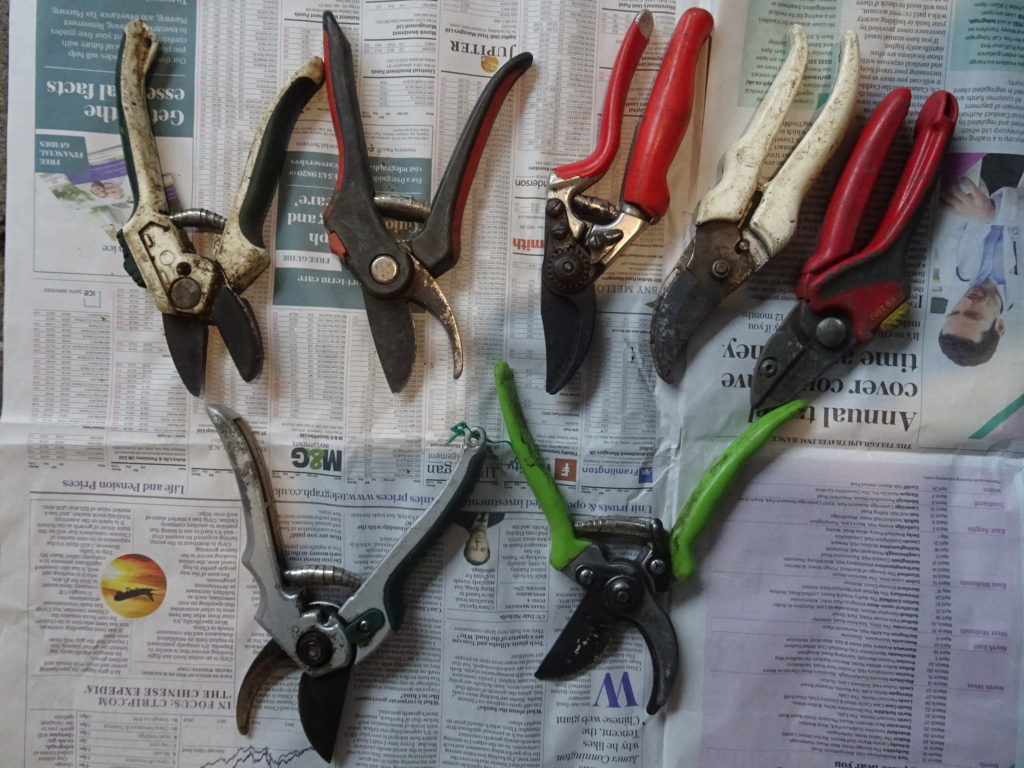
- G hooks are fixed to wooden battens and hold tools
- The white line on the left hangs from the roof and is a device to warn me when the car is far enough into the garage. The black line half way across the window is a power cable between the heated sand bed and the other wall and the plugs.
Quick Ideas in the Greenhouse.
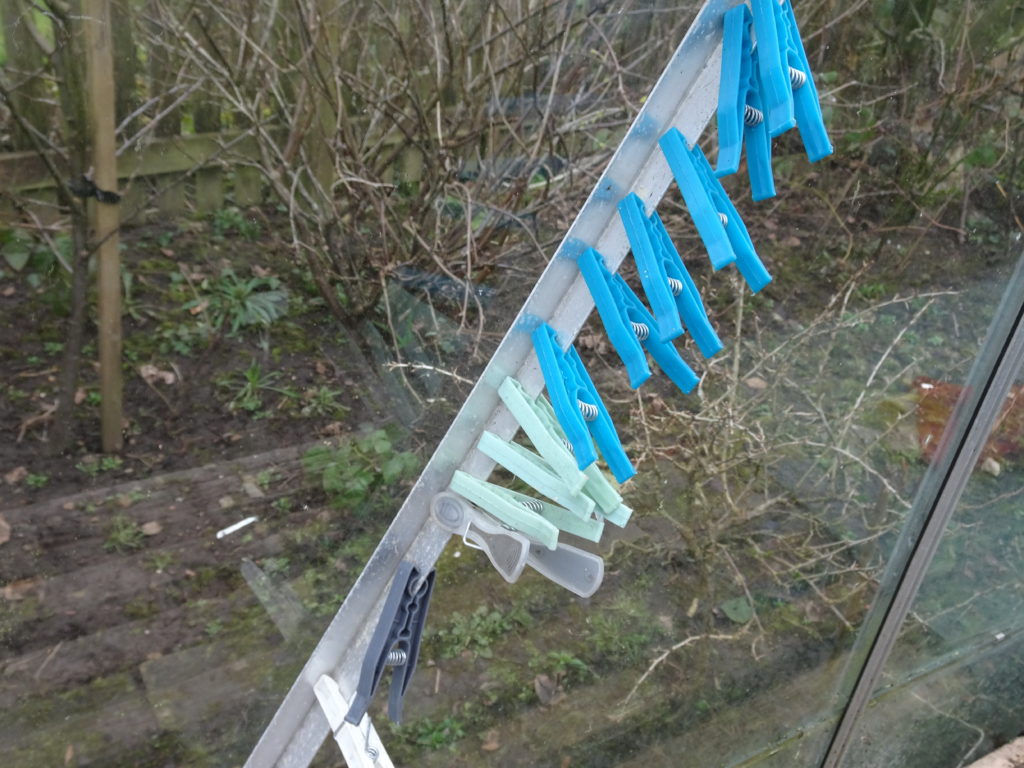
- I have a stock of pegs on one of the aluminium supporting struts. They are thus ready to hand and can be used as temporary fixing devices. You don’t know what you will want until you want it.
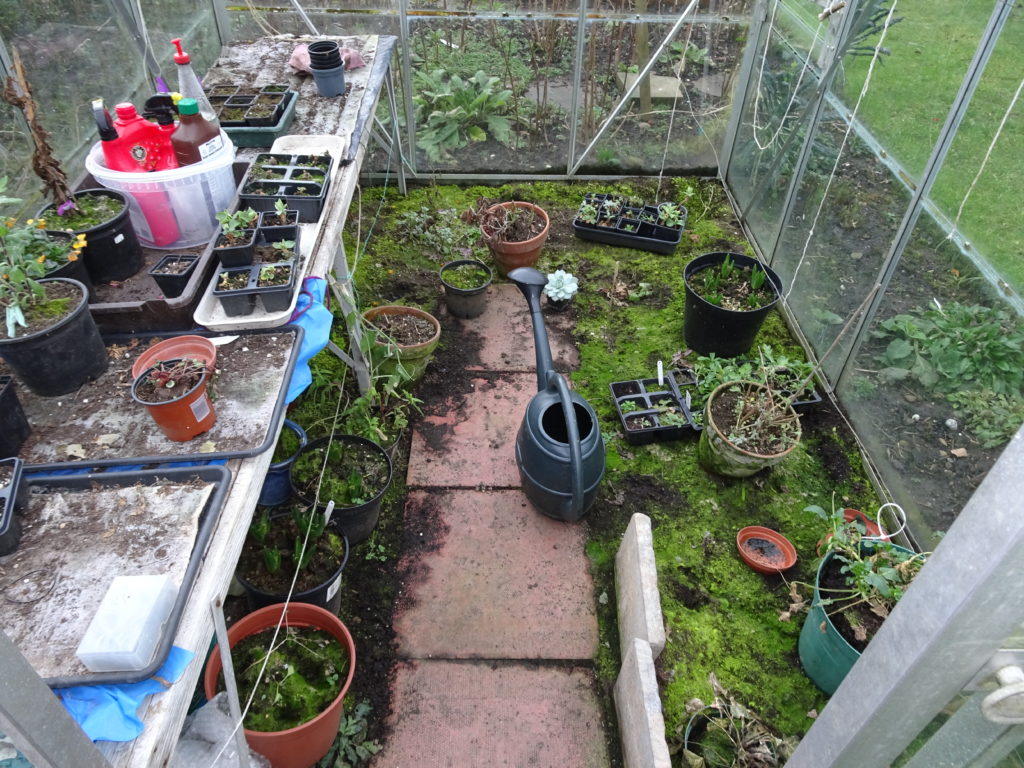
- I also have support wires strung across the length of the greenhouse which helps support tomato plants.
- Under the staging I have a tub formerly containing growmore for greenhouse bits, support clips and odd pieces.
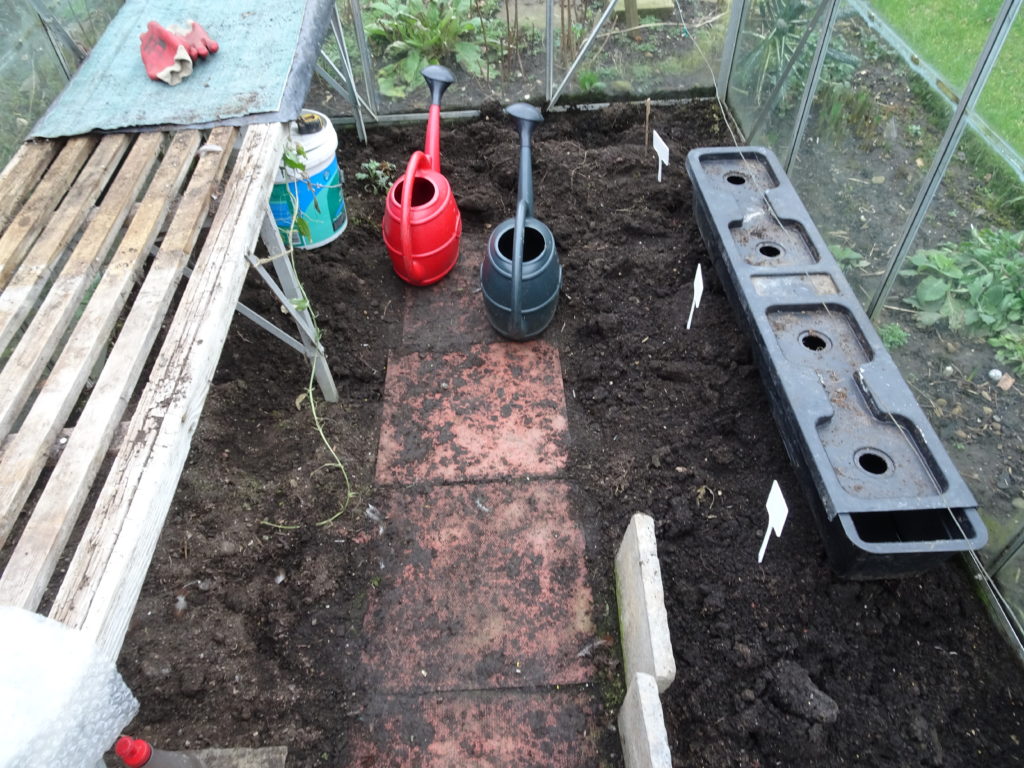 After
After

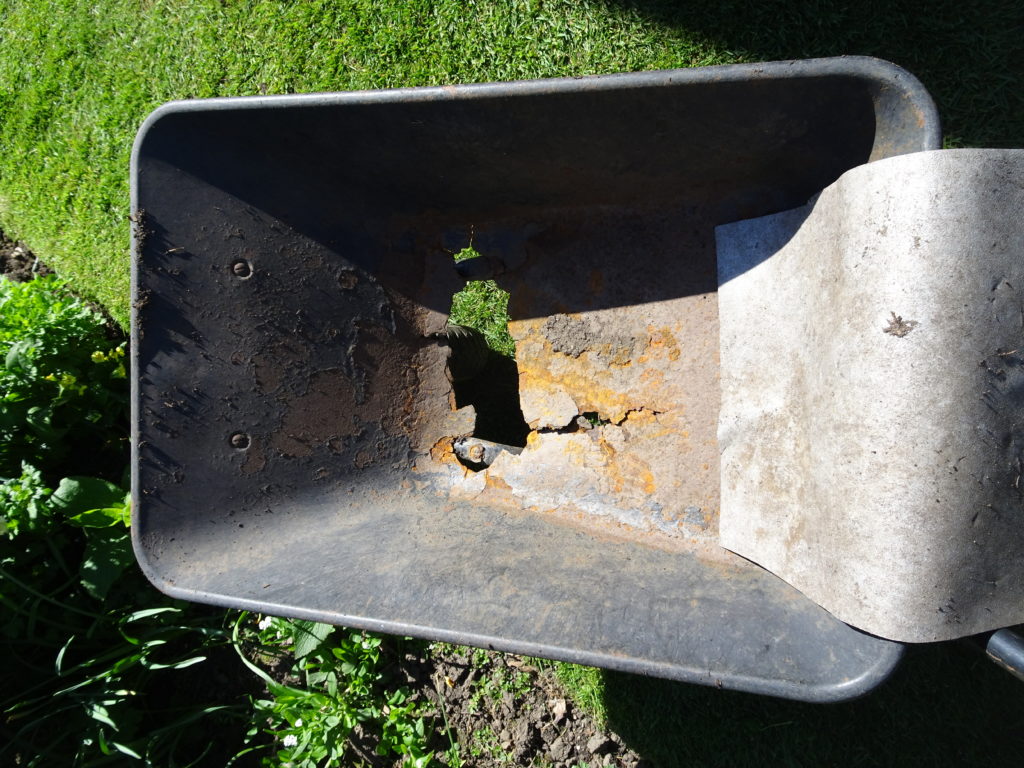 Rust Bucket Barrow