Browsed by
Tag: edible

Thrifty Gardening

Thrifty Gardening

Gardening is an area where there are many ways of saving money or reducing costs. A thrifty approach to gardening is not only possible it is highly desirable particularly in the early stages of gardening. It would be easy to buy the most expensive and decorative plants in the garden centre only to find that you didn’t know what you were letting yourself in for. The plant may die or fail in some other way because you didn’t understand its needs and the care required to look after it. So ask for advice.

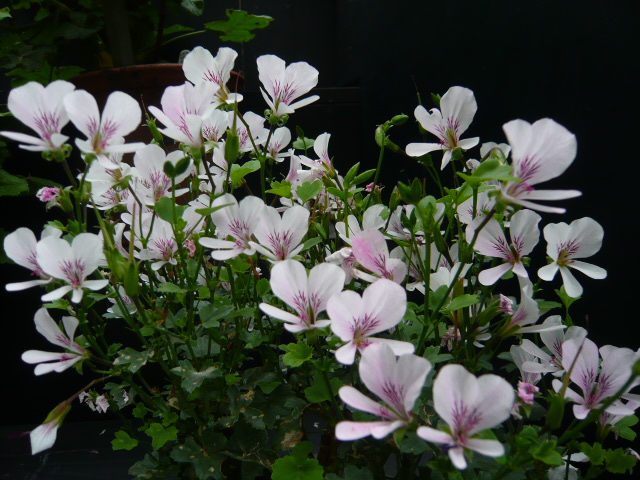
Pelargonium grandiflorum

Extra Plants for Free

  1. Increase your own stock by collecting seeds from annuals and plants you like. Leave a few vegetables to ‘run to seed’ e.g. peas and beans are good examples – at the end of the season let them grow until the seed pod is mature then collect and separate to dry the beans or peas and sow them again in spring.
  2. Increase your own stock by taking cuttings. Don’t worry about the occasional failure but take enough cuttings to cover losses.
  3. Increase stock by dividing up large clumps of plants. Many plants like Iris need this division treatment to remain healthy.
  4. Local horticultural and gardening clubs, neighbours, church fairs, friends, and family are good sources of cuttings, seeds and cheap but healthy plants.
  5. Look in your own garden for self sown plants I had some great cowslips in the garden when I arrived probably from seeds dropped by birds.
  6. Seeds or cuttings collected from positions where they are not needed to maintain the environment. (That is not to encourage theft from gardens or damage to the environment but there are many occasions when an opportunity won’t cause any problem)

Save on Consumables and Equipment

  1. Water is costly when metered so mulch rather than water. Water key plants individually and deeply. Collect rainwater in a barrel.
  2. Make your own seed pots from old packaging, margarine tubs, yoghurt pots or paper towel roll ends.
  3. If you have several old marked labels clean then in a jar of bleach to be able to reuse.
  4. Use organic slug control methods which tend to be free or cheap.

Top Gardeners Tip
Grow what gives you pleasure but if you can eat it or use it instead of buying something, like a bunch of flowers or present then you will get double value & pleasure.
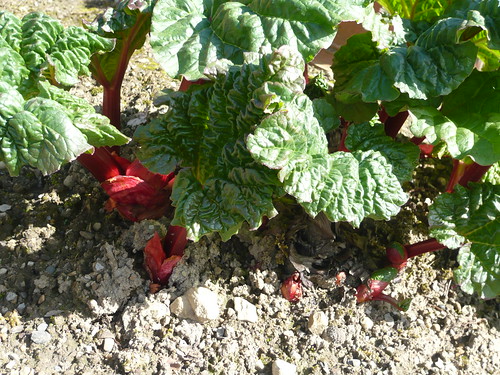
Triangular Rhubarb from Yorkshire

Triangular Rhubarb from Yorkshire

Rhubarb

Yesterday I ate a sharp, fresh Rhubarb crumble made from Rhubarb picked on my own patch and it was brilliant.

Special Tips for growing rhubarb .

Grow it in the West Riding of Yorkshire the heart of the Rhubarb triangle.
Do not pick all the stems from one crown, let some grow on and put energy back in for next year.
Do not pick late in the season for the same reason.
Water copiously in dry summers a couple of days before you pick the crop. Water even when it is raining.
Break off flowering stems as soon as you see them.
Pick and go so you eat fresh Rhubarb.

Neglected Rhubarb
I do very little to my rhubarb crowns and leave them to their own devices in a corner of the veg patch.
They produce lots of stems and deserve a good autumn feed of well rotted compost

Read More Read More

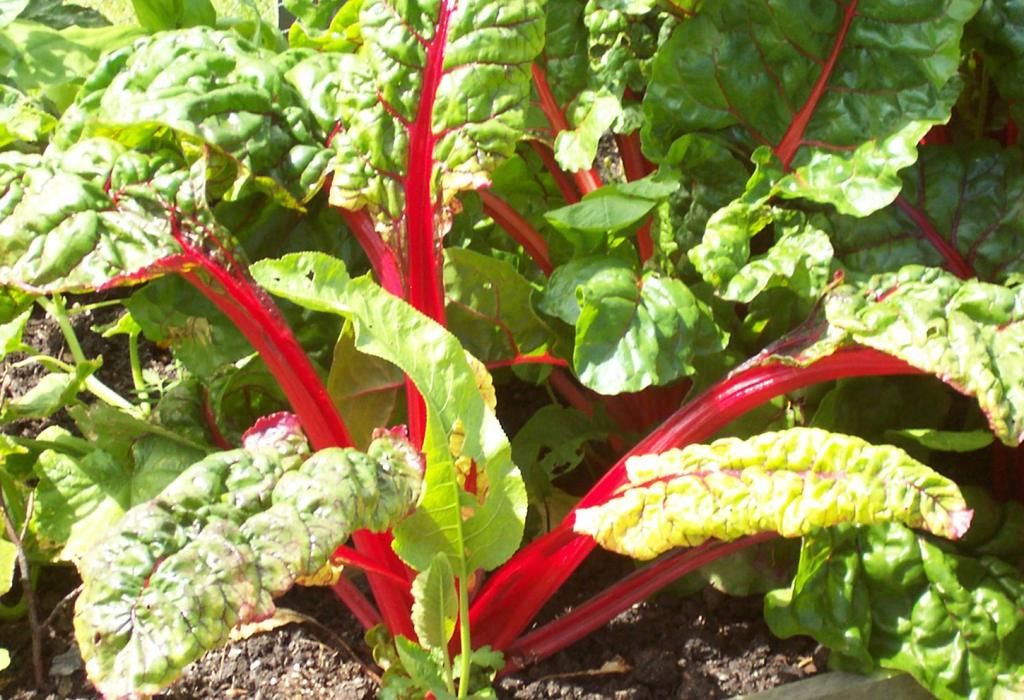
Swiss Chard as Coloured Spinach

Swiss Chard as Coloured Spinach

swiss Chard HC

Similar to spinach with a slightly bitter flavour Swiss Chard is pungent and slightly salty. It contains an exceptionally impressive list of health promoting nutrients. Although Swiss Chard is available throughout the year, its season runs from June through August when it is at its best.

  • Swiss Chard is a tall leafy green vegetable with a thick, crunchy stalk that comes in white, red or yellow with wide fan-like green leaves.
  • It is ornamental enough to grow in the border.
  • Chard is easy to grow from seed and grows upto 18 inches tall and spread.
  • Eat and cook Chards like spinach. Both the leaves and stalk of chard are edible, although the stems vary in texture with the white ones being the most tender.
  • ‘Ruby Red’ has stunning deep veins and can be picked young.
  • ‘Bright Lights’ is a seed mixture ready within a month
  • Organic seed is available and if growing it organically watch out for slugs

Book Cover

Grow your Own Mesclun Salad

Grow your Own Mesclun Salad

Mesclun

What is Mesclun

  • Mesclun is a mixed salad of young green leaves.
  • The idea is to create a salad with a good balance of strong and mild flavoured greens.
  • Often Mesclun contains a mixture of leaves from lettuce, endive, chicory, frisee, spinach, sorrel, swiss chard, mustard, arugula, radicchio and or chervil.
  • Mesclun is best when harvested as tender young leaves.
  • For extra flavor some people add herbs like thyme and oregano to the mix.
  • I think 4 different leaves are enough to make a good Mesclun with no one flavour or texture dominating the others.

How to Grow Mesclun

  • Grow from seed and cut the leaves as you need them. Many will work as cut and come again micro salad leaves.
  • Salad leaves are mostly water and so you need a soil that is open but water retentive. I have found miracle grow compost has worked well this year.
  • Water regularly but remember soggy leaves will not be appetising.
  • I grow in containers and grow bags to leave open ground for more robust crops.
  • Seeds are ready to crop from 30-40 days as sweet young leaves.
  • Sow at 2 weekly intervals for regular supplies. Germination is best in cool spring and autumn temperatures.

How to Harvest Mesclun

  • When leaves are at least 4” tall you can start cutting.
  • Collect mixed leaves in a basket or bowl and snip with a pair of scissors.
  • Gently hold a clump of leaves with one hand while cutting with the other. Leave 1”–2” of leafy crowns on the plants so they can regrow for another harvest.
  • You should get 2 or 3 crops from each plant.

Gardeners Tips and Comments

  • Aim for a mix of sweet and stronger leaves.
  • A mix with yellow and red leaves as well as green can look attractive and we eat with our eyes first.
  • Mesclun may have originated in France but good gardeners can improve on French attempts at a salad.

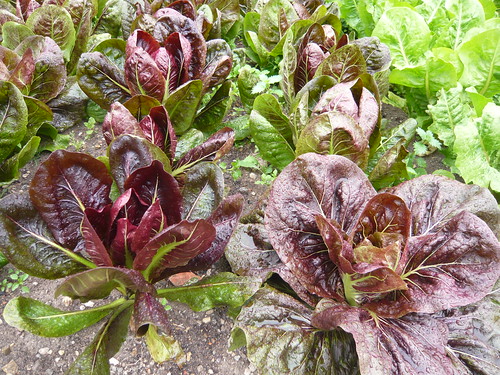
Chicory Rosa Detreviso

Top Tips for Cut and Come Again Leaf Crops

Top Tips for Cut and Come Again Leaf Crops

‘Eat your greens’ and your reds, whites and purples in a mixed salad.

Grow leaf crops from seed and use the leaves as needed. When the leaves are 2-5 inches  high, which will take four to five weeks, they’re ready to eat. Loose-leaf lettuces need to have leaves harvested regularly.  In the fridge they’ll keep for three days or so.

Vegetables raised as cut-and-come-again crops can be planted much closer together than you normally would since the veggies are not going to be maturing into full sized plants before harvest time.

Read More Read More

Berberis Decidious or Evergreen

Berberis Decidious or Evergreen

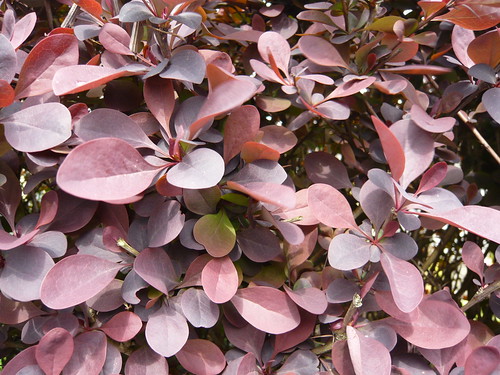
Berberis

Your Berberis may loose their leaves or remain evergreen through winter. This purple leaved variety, Berberis Thunbergii has turned from very dark to red coloured leaves and after another frost they will be gone. The red berries wont last long either as they are feeding small birds which have already thinned them out. The spines will remain as a deterrent to unwanted intruders and fresh new leaves will reappear in spring.

Best evergreen varieties include Berberis candidula x carmine, Berberis dawinii (flowering orange see below) or one of the hybrid Berberis stenophylia.
Berberis and bee

Best for red or blue-black berries, include Berberis aggreata, Barbarossa, Micrantha, Berberis microphylla and Berberis buxifolia. Berberis vulgaris which used to be eaten in Victorian times plus Berberis heterophylla and Berberis darwinii are all worth considering for cooking or eating dried.

Best yellow flowered Berberis Dictyophylla, Berberis Koreana and Berberis darwinii.
Chose other Berberis varieties

With literally hundreds of species and varieties to select from you can experiment with a Berberis that is just right for your location. Many varieties are extremely prickly so be warned

Berberis

Book Cover